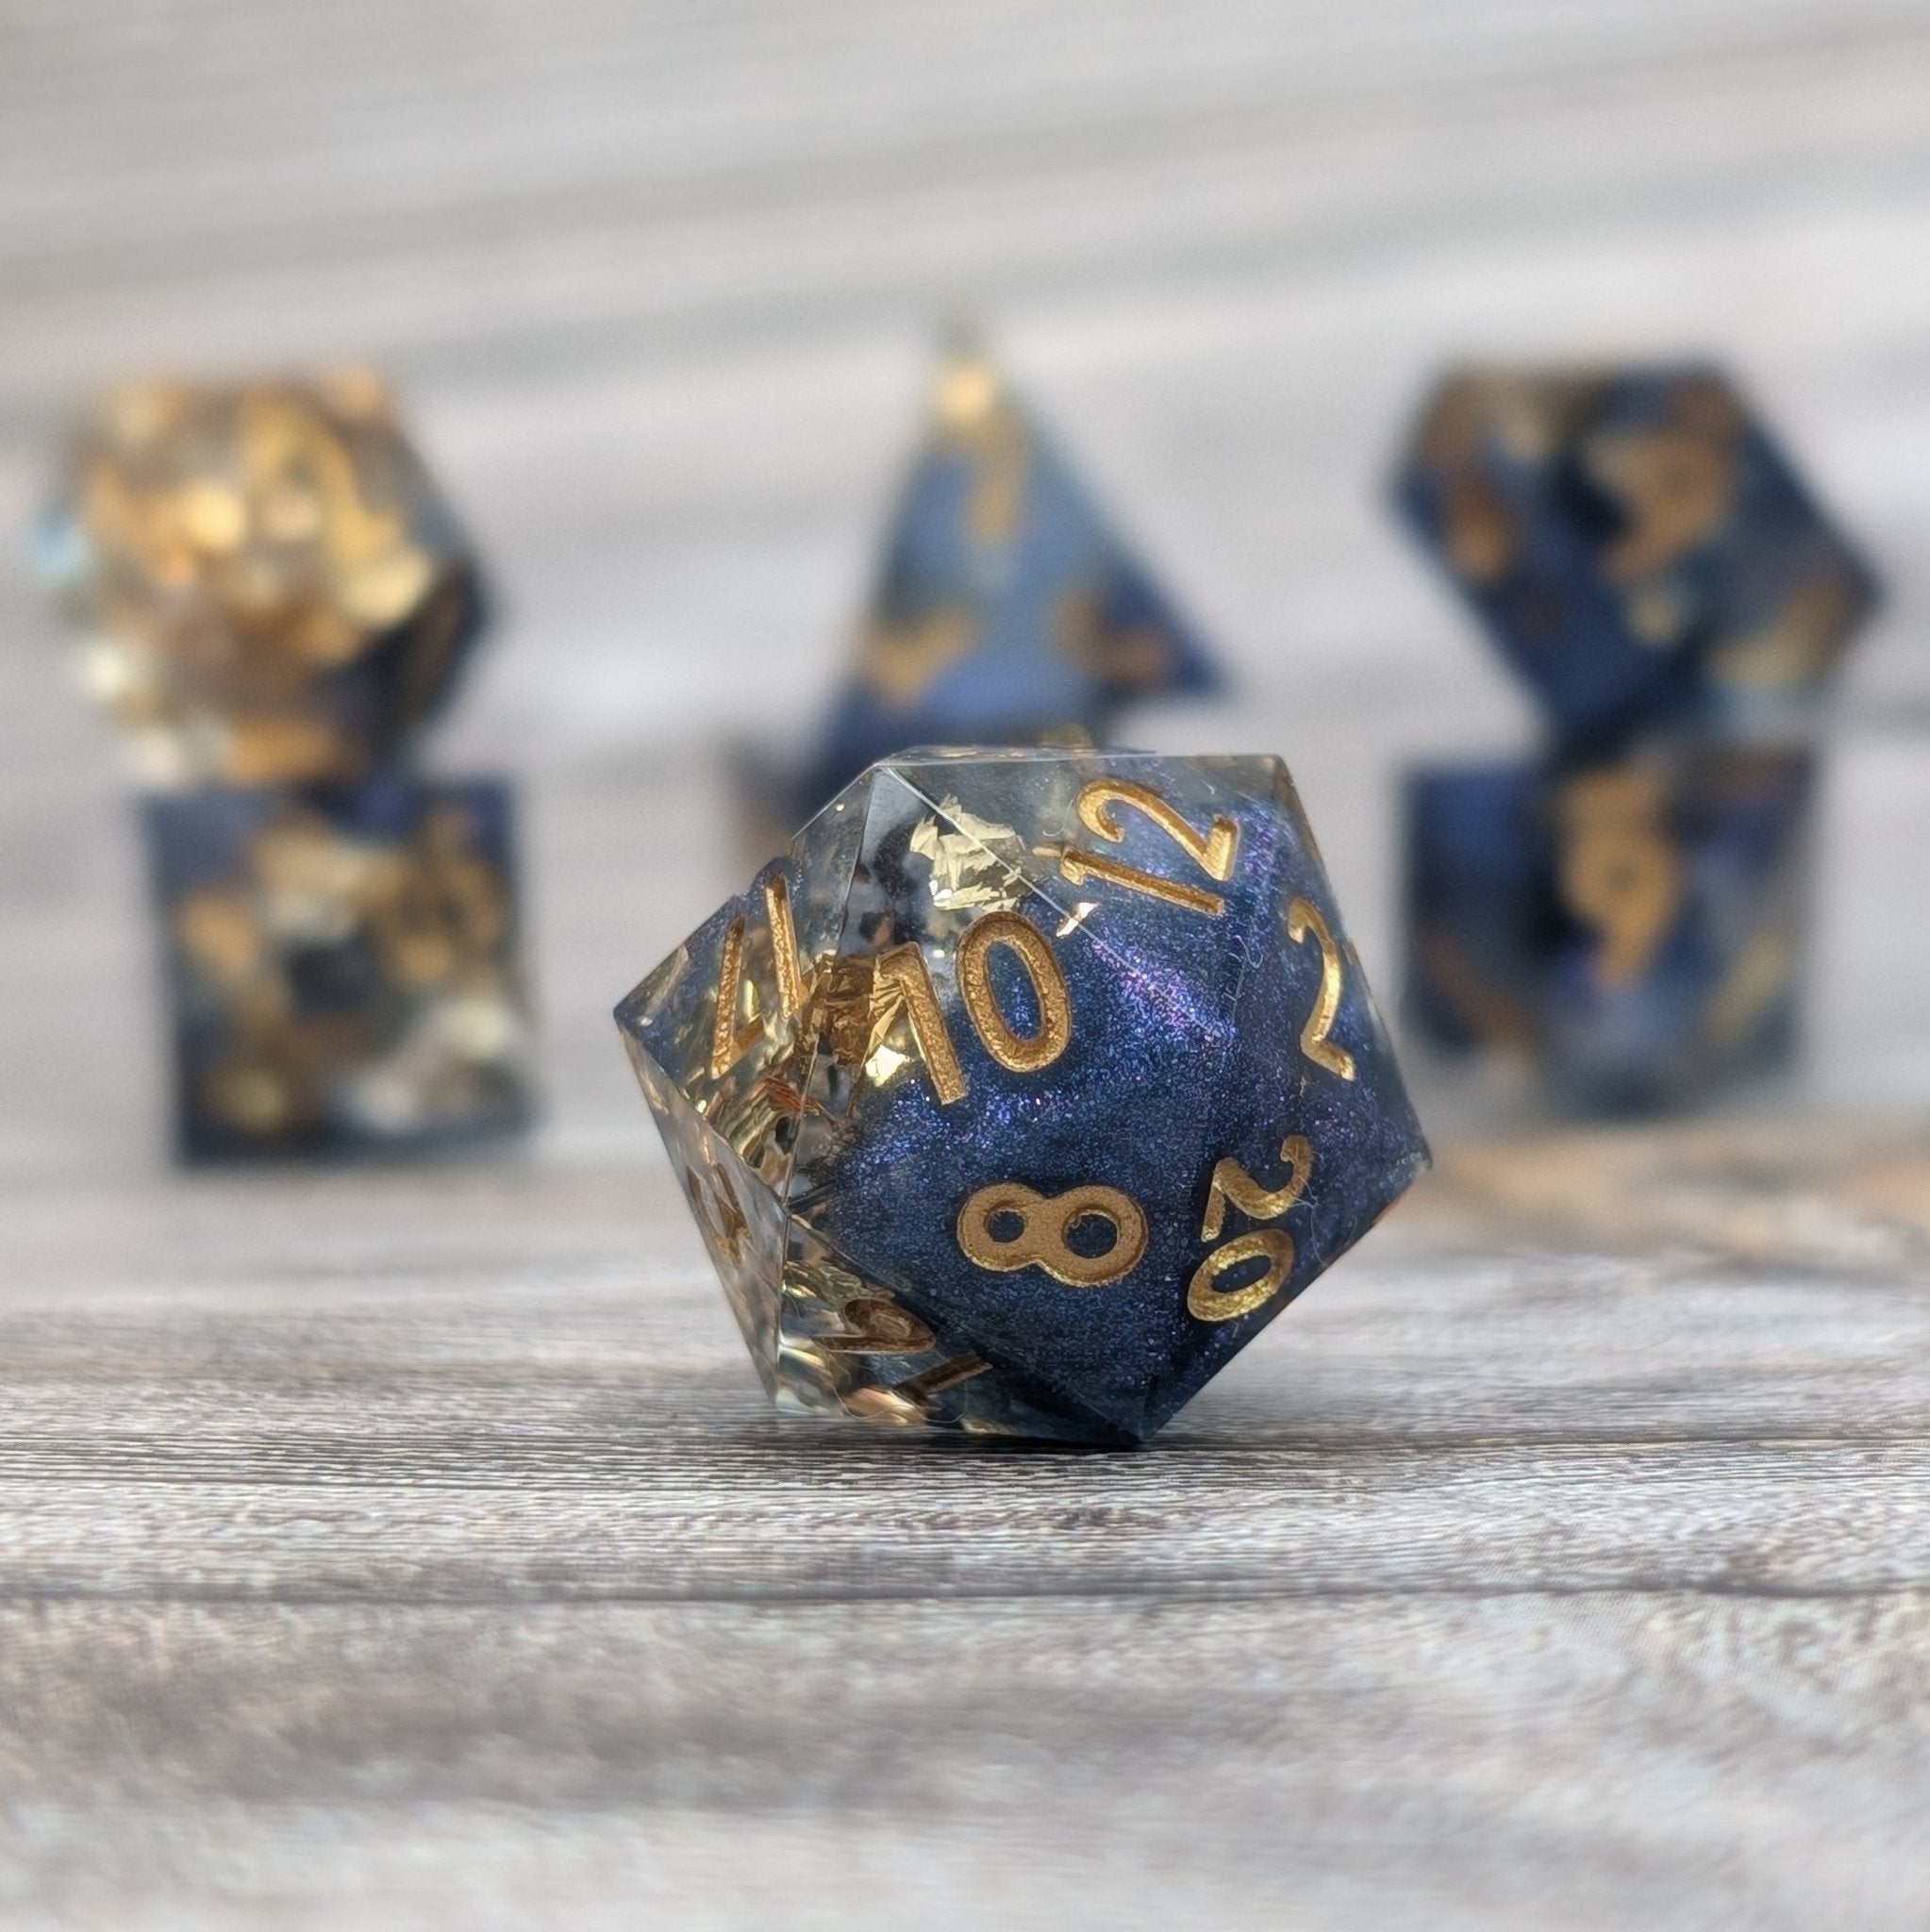
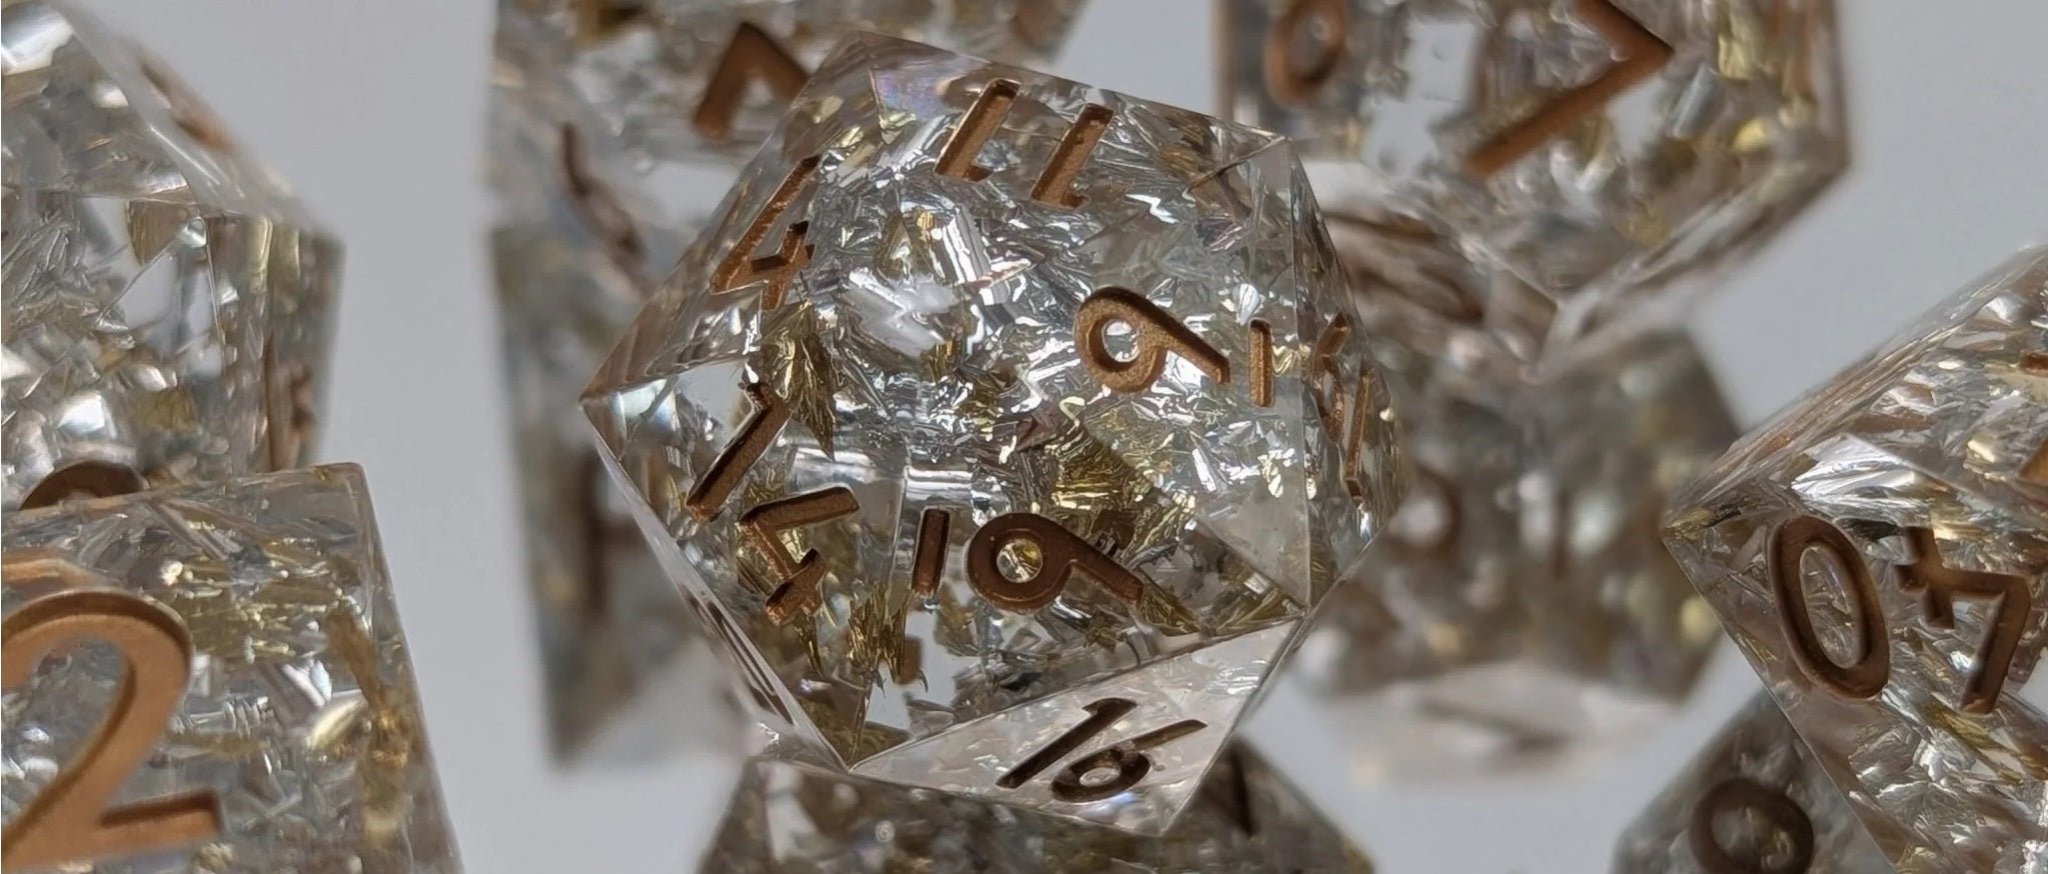
How to Polish Resin Dice Like a Pro: A Deep Dive for Dice Makers
🛠️ The Ultimate Guide to Polishing Resin Dice: From Sanding to Shine
Achieving a flawless, glass-like finish on your handmade resin dice is essential for showcasing their beauty and craftsmanship. This comprehensive guide will walk you through various methods and tools to help you attain that perfect shine.
🧹 Step 1: Sanding – The Foundation of a Smooth Finish
Sanding is the most critical step in achieving a flawless polish on your resin dice. If you skip or rush this part, no amount of polishing will save a poorly prepared surface. Let’s break it down step by step.
⚙️ Understanding the Goal of Sanding
The objective is to remove surface imperfections such as:
- Flashing from mold seams
- Layer lines or bubbles from imperfect pours
- Tool marks from trimming
- Slight warping or unevenness
Sanding levels the surface, smooths transitions between faces, and prepares the dice for polishing. This process is done by starting with coarse grits and progressing gradually to finer grits.
🔄 Sanding Strategy Based on Mold Quality
🟢 High-Quality Masters & Pressure-Cast Molds
If you're using high-quality pressure-cast molds made from masters that were sanded and polished perfectly, your dice might only need light face sanding to remove minor flashing or a thin seam.
Focus on sanding just the faces that had flashing, rather than every surface. This preserves the sharp edges and keeps your shapes consistent.
🔴 Lower-Quality or Older Molds
You may need more aggressive sanding across all sides, especially if you’re seeing:
- Visible seams or ridges
- Orange peel texture
- Soft corners from mold wear
🧬 Wet Sanding: Why and How
Always wet sand your dice with both 3M sandpaper and Zona papers. Wet sanding:
- Prevents dust inhalation (especially important with resin)
- Reduces friction and heat
- Extends the life of your paper
- Produces a smoother result with fewer deep scratches
How to Wet Sand:
- Dip your sandpaper or dice in a small bowl of clean water.
- Optionally add a drop of dish soap to the water to reduce surface tension.
- Gently rub the die against the sandpaper on a flat surface or use your fingers to guide the sanding.
- Rinse the die and paper between each grit to avoid transferring grit scratches forward.
🔄 Circular and Even Pressure
Use small, controlled circular motions as you sand. This helps:
- Avoid flat-spotting
- Ensure even abrasion on the face
- Maintain symmetry across the die
Tip: Never stay in one spot for too long. Keep rotating the die between your fingers, especially on curved surfaces like d20s or d12s.
🪳 Grit-by-Grit Breakdown
Here’s how you should progress:
| Grit / Micron | Material | Purpose |
|---|---|---|
| 400–600 | 3M Wetordry | Removes flashing, big imperfections, and seams |
| 800–1000 | 3M Wetordry | Smooths surfaces, removes scratches from coarse grit |
| 1500–2000 | 3M Wetordry | Refines surface and removes haze |
| 3000 | 3M Wetordry or Zona | Prepares for high-gloss polish |
| 15, 9, 3, 2.5, 1 micron | Zona Papers | Final stage – each step refines the polish further |
Pro Tip: You don’t have to use every single Zona sheet, but jumping more than two grades can result in lingering scratches.
🧬 Clean Between Steps
After each grit:
- Rinse the die and your hands
- Clean your work surface
- Make sure no coarse particles contaminate the next grit (a common source of mystery scratches)
✨ Step 2: Polishing – Bringing Out the Shine
Once sanding is complete, polishing enhances the clarity and brilliance of your dice.
🔹 Buffing Wheel with Rotary Tool
Using a buffing wheel attached to a rotary tool like a Dremel can significantly speed up the polishing process. Soft cotton wheels are recommended to avoid scratching the resin. Apply a small amount of plastic polishing compound to the wheel and gently buff each face of the die.
🔹 Vibratory Tumbler
For batch polishing, a vibratory tumbler can be a game-changer. By placing your sanded dice along with a suitable polishing media into the tumbler, you can achieve a consistent finish with minimal manual effort. However, it's essential to ensure that the dice are adequately sanded beforehand, as tumblers are more effective for polishing than for removing significant imperfections.
🧼 Step 3: Final Touches – Achieving a Glass-Like Finish
After polishing, you may notice some residue or minor imperfections. A final pass with the finest grit Zona paper (1 micron) or a soft polishing cloth can help eliminate these and enhance the shine. Additionally, applying a plastic polish can further improve clarity and protect the surface.
By following this guide and utilizing the recommended tools, you can elevate the quality of your resin dice, ensuring they not only look stunning but also stand the test of time.
Happy crafting!


Leave a comment
This site is protected by hCaptcha and the hCaptcha Privacy Policy and Terms of Service apply.